Week Ten - Prototyping and Concept Testing
Learning Objectives
Section titled “Learning Objectives”- Understand the importance and benefits of prototyping in the design process.
- Differentiate between validation and evaluation in concept testing.
- Recognize various fidelity levels of prototypes and when to use each.
- Identify the tools and methods suitable for different stages of prototyping.
Slides
Section titled “Slides”MAD9034 10-2 - Concept Testing
Prototyping
Section titled “Prototyping”A prototype is an early model or sample built to test a concept or process.
Goals of Prototyping:
- Test a design hypothesis.
- Learn, improve, and gain confidence in a product or idea before investing time and money in the full implementation.
The Value of Prototyping
Section titled “The Value of Prototyping”- Early changes are easier and less costly to make.
- Enables refining of design elements before the final version.
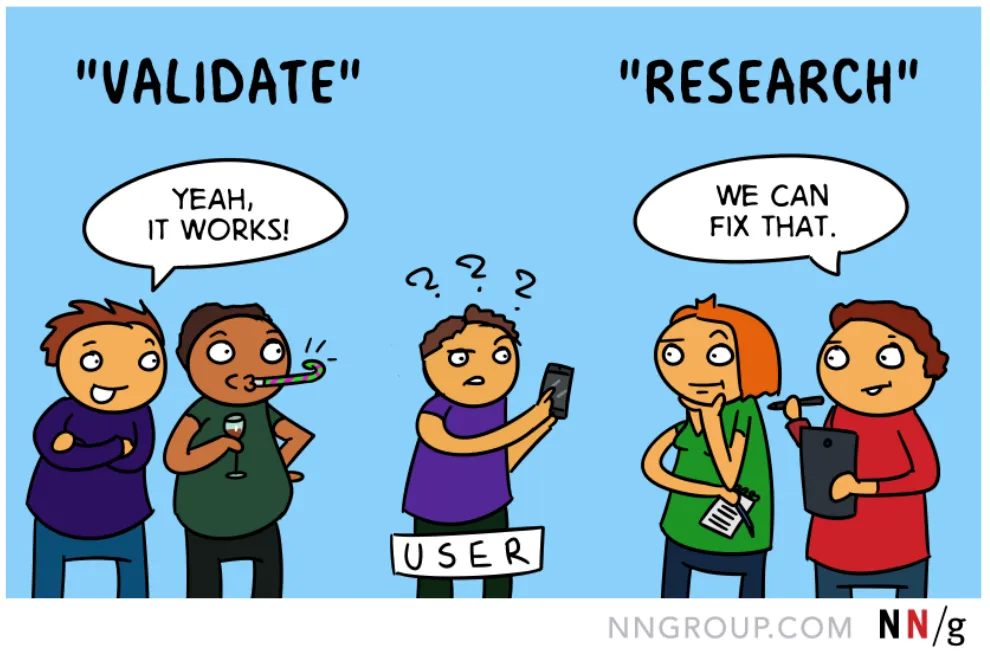
Validation vs. Evaluation
Section titled “Validation vs. Evaluation”- Validating a design introduces bias; it may discourage users from pointing out issues.
- Replace “validate” with: test, research, evaluate, examine, study, analyze, watch how people use, see where the design succeeds and fails.
What Can You Test with a Prototype?
Section titled “What Can You Test with a Prototype?”- Usability: Layout, affordance/feedback, terminology.
- Navigation: Ensure users can navigate effectively.
- Functionality: Ensure interactive elements support user tasks.
- Alternate Designs: Determine most user-preferred options.
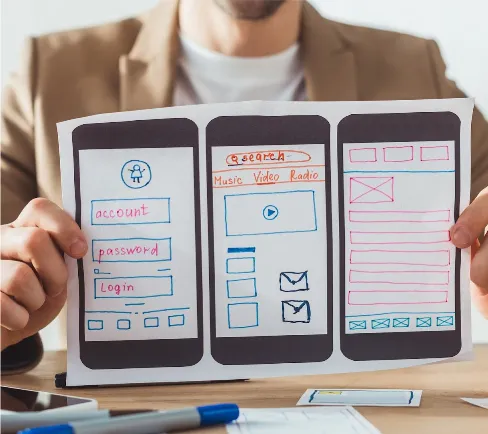
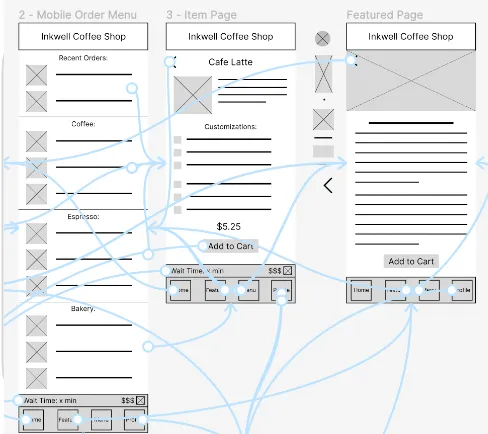
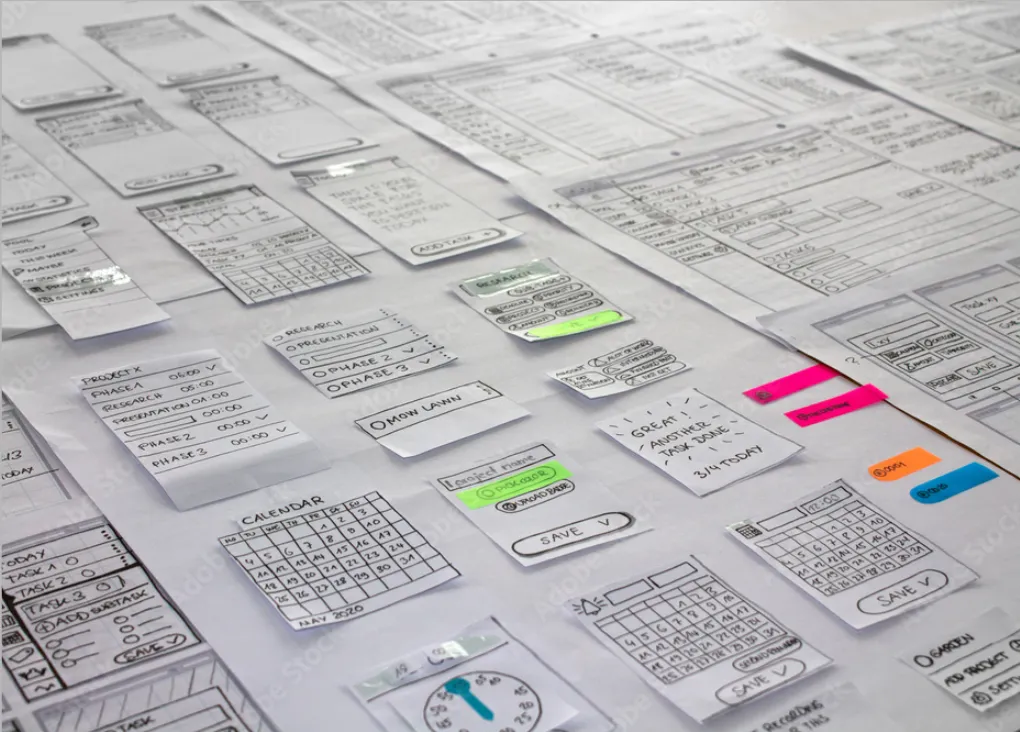
Types of Prototyping
Section titled “Types of Prototyping”| Paper Prototype | Digital Prototype | Dev Prototype |
|---|---|---|
| Early design stage | Any design stage | Test complex designs before final implementation |
 |  |  |
Levels of Fidelity in Prototyping
Section titled “Levels of Fidelity in Prototyping”Prototypes can vary in their detail and realism. Choosing the right fidelity depends on the goals, audience, and stage of the design.
1. Low Fidelity
Section titled “1. Low Fidelity”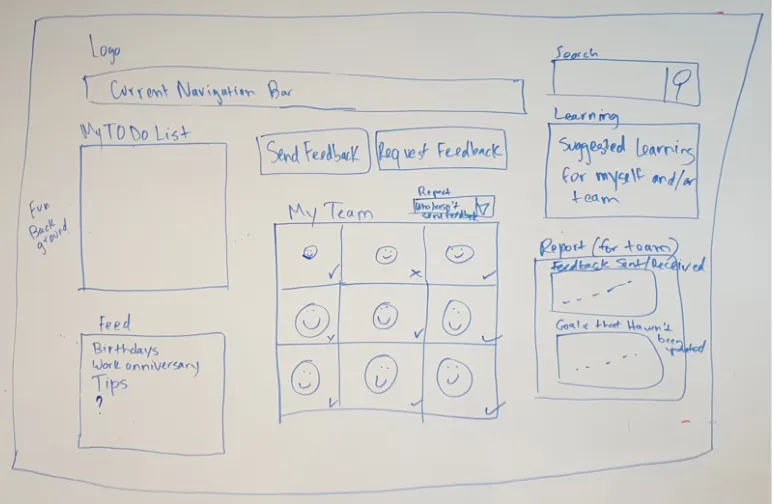
- Used early in the design process.
- Quick, easy, and iterative.
- Test assumptions and identify major problems.
2. Mid Fidelity
Section titled “2. Mid Fidelity”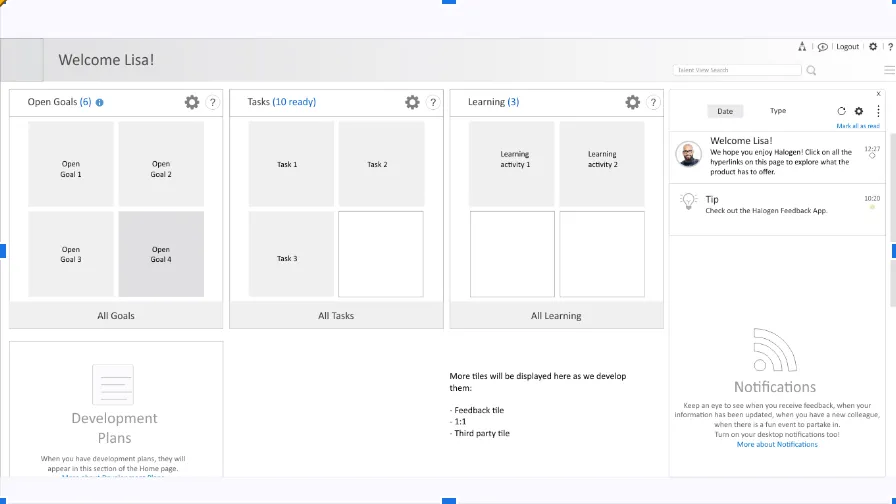
- Refines solutions tested in low fidelity.
- Tests finer details and specific interactions.
- Static wireframes.
- Partially interactive digital interfaces.
3. High Fidelity
Section titled “3. High Fidelity”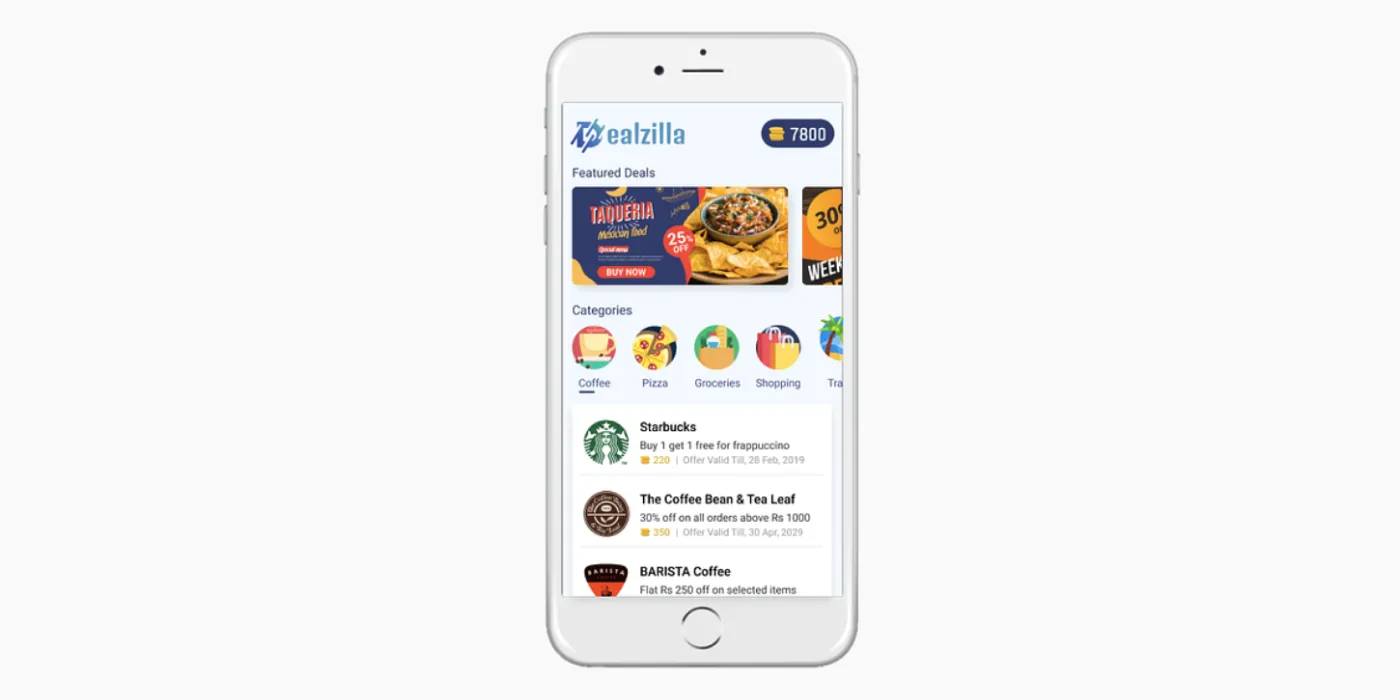
- Closely represents the final product.
- Used for the last line of testing before actual development.
- Pixel-perfect designs.
- Real working code with simulated interactions.
- Actual content and visual design.
Tools for Prototyping
Section titled “Tools for Prototyping”
Concept Testing
Section titled “Concept Testing”Concept testing captures the key essence (the value proposition) of a new product or service concept to understand if it meets the needs of the target audience.
Early Stage Concept Testing
Section titled “Early Stage Concept Testing”- Connecting with users.
- Communicating effectively with users.
- Identifying user responses.
- Gauging user interpretations of designs.
- Testing multiple design concepts.
Advanced Stage Concept Testing
Section titled “Advanced Stage Concept Testing”- Observing user interactions with on-screen elements.
- Refining content, interactive elements, and overall sequences.
- Testing multiple microinteraction solutions.
Testing Prototypes
Section titled “Testing Prototypes”Here is a help article which looks at testing in more detail.
Early Design Stages
Section titled “Early Design Stages”Low-fidelity prototypes allow for testing:
- Concepts.
- Understanding problems.
- Identifying ‘blind spots’.
- Gauging the scope of solutions.
Paper Prototyping: How to Create & Usability-Test Simple UI Prototypes (40 min tutorial)
Advanced Design Stages
Section titled “Advanced Design Stages”Higher fidelity prototypes help test:
- Usability.
- Content relevance and clarity.
- Efficiency.
- Desirability.
User Research Methods
Section titled “User Research Methods”It aids design iterations, leading to:
- A deeper empathy and understanding of users.
- Insights that might redefine your problem statement.
- New solution ideas.
- Design and prototype improvement.
Preparation and Execution
Section titled “Preparation and Execution”To maximize concept testing benefits:
-
The Prototype
- Remember, the prototype is under test, not the user.
- Design the prototype with a specific question in mind.
-
Context and Scenario
- Focus on the primary use-case scenario.
-
User Interaction
- Set user expectations about the prototype and the test.
- Avoid diving into prototype operation details.
-
Observation and Feedback Capture
- Ensure the user’s interaction is uninterrupted.
- Record significant observations.
Testing a Paper Prototype
Section titled “Testing a Paper Prototype”Usability Test with a Paper Prototype
-
Recruit Users
- Seek representative users.
- Testing with 5 users typically identifies most problems.
- Use ‘hallway testing’ if recruiting is challenging.
-
Setup
- Use a neutral, quiet environment.
- Have adequate space and seating.
- Include a facilitator, “product” operator, and ideally, a note-taker.
-
Conducting Sessions
- Begin with an introduction.
- Guide users through tasks.
- Observe without intervening.
- Engage in post-test discussions.
Guidelines for Interpreting Results
Section titled “Guidelines for Interpreting Results”- Stick to observed facts.
- Relate feedback to initial research questions.
- Note answered and unanswered questions.
- Be prepared for new questions to emerge.
- Remember: Testing is iterative. Each round brings clarity.